How to Elevate Model Train Track
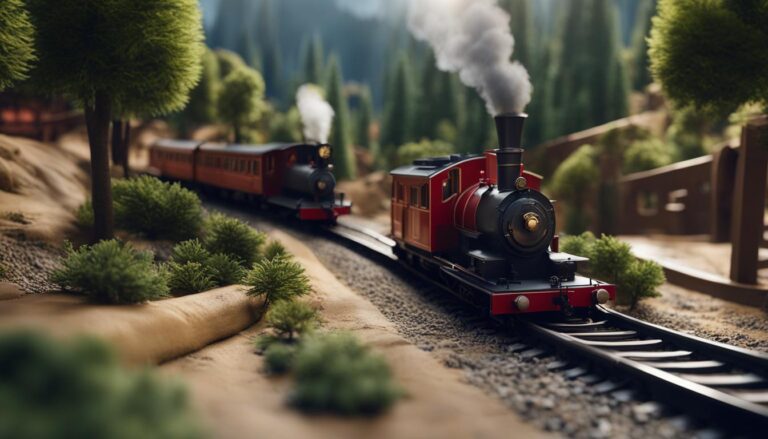
First of all, putting up model train tracks on your layout can actually and figuratively raise your model railroad to new heights. Additionally, you can make beautiful elevated parts that make your model train layout feel more real and exciting if you are creative and know how to do it right. In addition, this part will talk about ways to make your model train track look better by adding track grades and other features that make it look better.
In general, raising your model train tracks gives you a lot of options for making your plan more realistic and dynamic. Furthermore, you can actually and figuratively take your model railroad layout to new heights by adding track grades, in addition to a nice-looking design, and strong structural support.
Key Takeaways:
- Putting model train tracks on different levels makes your plan look more realistic and interesting.
- To raise the tracks, you’ll need things like plywood, wooden bolts, screws, and glue.
- A step-by-step guide can help you build safe and accurate raised tracks.
- For true slopes and hills, think about things like track layout, clearance, and track length.
- You can make an interesting and realistic model train experience by carefully planning and carrying out the building process.
Why Elevate Model Train Tracks and Materials Needed
Firstly, putting up model train tracks can be done for both practical and aesthetic reasons. Additionally, it lets you add bridges, multi-level layouts, and other visual interest to your model train. Moreover, things like plywood, wooden plates, screws, and glue will help you build your ways. Furthermore, these things will keep the raised track stable and give it a base so trains can go under it. Lastly, using these materials, you can build an elevated track on your plan that is strong and looks good.
Because it is strong and lasts a long time, plywood is often used as the base material to elevate model train tracks. Plywood makes the base of the raised track strong so it stays stable and can hold the weight of the trains. Wooden studs are used to build the framework of the raised part, which gives it extra support and strength. The wooden studs are securely attached to the plywood base, making a strong structure that can handle the frequent moves of trains.
Engaging Realism
For putting together the raised track, you will also need plywood, wooden studs, screws, and glue. The wooden studs are securely attached to the plywood with screws, making sure the link is strong. You can use glue to strengthen the joints and make them more stable. It is very important to pick screws and glue that are of good quality and work with the materials you are using. This will make sure that the raised track stays in good shape while your model trains are running.
If you use the correct equipment and building methods, you may elevate your model train tracks and create a beautiful layout with elevated areas and bends. Raising your model railroad tracks improves its appearance and allows trains operate more realistically. No matter your model railroading experience, elevating your tracks gives you many new possibilities to create distinctive layouts.
Step-by-Step Guide to Elevating Model Train Tracks
Model train raised tracks need to be put together in a planned way to make sure they are square and stable. This step-by-step guide will help you plan and build your model train tracks.
Gather the Necessary Materials
- Plywood: Cut the plywood into the shape and size you want for your raised base.
- Wooden Studs: To support and stabilize the raised track, put in wooden studs.
- Glue and screws: Attach the wooden plates and plywood to make a strong base.
You’ll have a solid foundation for your elevated tracks by carefully selecting and preparing these materials.
Design Your Track Layout
Before constructing the elevated track:
- Plan your track layout to determine the desired elevation points and curves.
- Consider the available space and the visual appeal you want to achieve.
- Take note of any track grade requirements for smooth operation.
Construct the Elevated Platform
First, cut the board into the shape you want for your raised platform. Make sure the sizes work with the room you have for the layout. Put the wooden studs along the platform’s edges to make it stable and stop it from bending. Use screws and glue to hold the board and studs together. This will give your raised track a strong base.
Put the raised platform where you want it on the plan and use screws or glue to hold it in place. Check that it’s stable and level.
Install the Train Track
First, the track goes in after the higher platform. Next, place track pieces on the board according to your pattern. Finally, attach the track to the raised platform using screws or glue and secure it.
To get the best results, double-check that the track is straight and smooth. Make sure your trains can handle the hills and turns by running them on the elevated track.
Summary
First, systematically elevating model train lines is possible. Then, to create a realistic raised track on your model train layout, gather materials. Next, plan the track layout. After that, build the elevated platform. Finally, install the track.
| Materials Needed | Steps |
|---|---|
| Plywood | Cut into desired shape and size |
| Wooden Studs | Install to provide stability |
| Screws and Glue | Secure plywood and studs together |
Tips for Creating Realistic Train Track Elevations and Inclines
Additionally, adding actual slopes and elevations to raised model train tracks makes them more realistic and intriguing. Furthermore, to integrate your elevated track into your train system, consider track plan, clearance, and length. Consequently, these ideas can help you build a realistic-looking raised track for your model trains.
Planning Your Train Track Layout
Firstly, it is important to have a well-thought-out track plan before you start building your raised track. Additionally, think about how your train tracks will look and be laid out overall. Consider where the curves and changes will go. Moreover, you can carefully plan the layout of your tracks to make sure they work well and that the trains move realistically on the higher parts.
Ensuring Proper Clearance
Before you start making your raised track, you should have a well-thought-out track plan. You should think about how the tracks will look and be put out in general, as well as where the turns and curves will go. When you lay out your tracks, you can be very careful to make sure they work well and that the trains move truly on the higher parts.
Calculating Train Track Length and Grade
When making accurate elevations, it’s also important to figure out the track length and grade. The grade is the curve or incline of the track. It is very important to pick the right grade so that your trains can go up and down the incline easily. Figuring out the length of the track also makes sure that your elevated track lines up with the rest of your plan. This makes the train experience more realistic and seamless.
Incorporating Model Train Track Curves and Transitions
To make your elevated track look more real and interesting, you might want to add curves and changes. Adding curves and changes can make your layout look better, just like adding curves and changes to real train tracks can make the elevated parts look more natural. Try out different curve radii and transition parts to make an elevated track that looks good and feels real.
| Tip | Description |
|---|---|
| Create a realistic grade | Ensure that the incline of your elevated track is suitable for your trains, avoiding steep slopes that may cause derailments. |
| Use reliable track supports | Choose sturdy materials and track supports to provide stability and prevent sagging or bending of the elevated sections. |
| Consider scenic elements | Enhance the visual appeal of your elevated track by incorporating scenery elements such as bridges, tunnels, or landscaping around the elevated sections. |
By using these tips and tricks, you can take your model train tracks to a whole new level and make a plan that is both beautiful and fun to play with. To make an accurate and interesting elevated track, make sure you plan your track layout, make sure there is enough space, figure out the track’s length and grade, and add curves and transitions. With creative thinking and close attention to detail, your model trains will be able to easily handle the hills and curves, giving you a realistic and engaging model railroad experience.
Conclusion
Building an elevated train track gives you a lot of options for making a beautiful model railroad. Implementing the tips and tricks talked about in this piece can really take your layout to a whole new level! Whether you choose to build your own elevated tracks or buy them already made, the building process is very important for getting a beautiful end.
Think outside the box when you’re planning your elevated model train track. To add variety and excitement, think about adding bridges, tunnels, and layouts with more than one level. You can build your dream train if you plan and do things carefully.
Remember that installing a high train track needs careful attention to detail. For smooth and accurate operation, make sure there is enough space between the tracks and figure out their length and slope. By doing this, you’ll give your model trains a more realistic experience as they easily go up and down hills and around turns.
So go ahead and raise your toy train track! This guide has given you the information and ideas you need to start an exciting trip of building and being creative, no matter how experienced you are or how new you are to it. Now is the time to build your dream model train!
FAQ
Why should I elevate my model train track?
Elevating model train tracks can add a new level of visual interest and realism to your layout. It allows for creating multi-level layouts, bridges, and visual interest on your model railroad.
What materials do I need to elevate my model train track?
To elevate your tracks, you will need materials such as plywood, wooden studs, screws, and glue. These materials will provide stability and a base for the elevated track, allowing trains to pass underneath.
How do I elevate my model train tracks?
Elevating model train tracks can be done using a step-by-step approach. The process involves cutting the plywood into the desired shape and size, installing wooden studs to provide stability, and securing the track on top of the elevated platform. By following a detailed guide, you can ensure that your elevated tracks are constructed accurately and securely.
How can I create realistic elevations and inclines on my model train layout?
When elevating model train tracks, it is important to consider various factors to create realistic elevations and inclines. This includes planning your track layout, ensuring proper clearance for trains to pass underneath elevated sections, and calculating the track length and grade for smooth operation. Additionally, incorporating curves and transitions can add visual interest and realism to the elevated track.
How can elevating my model train tracks enhance the visual appeal and realism of my layout?
By elevating your model train tracks, you can enhance the visual appeal and realism of your layout. With a well-designed and elevated track, your model trains will be able to traverse inclines and curves with ease, creating a captivating and realistic model railroad experience.